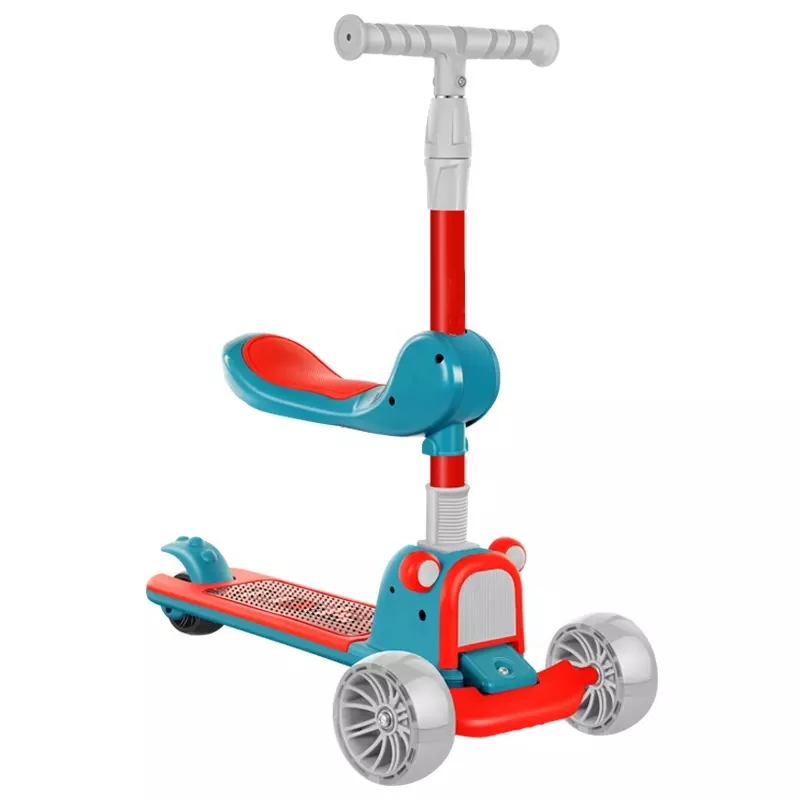
how to assemble a wiggle car
How to Assemble a Wiggle Car A Step-by-Step Guide
Wiggle cars, also known as snake cars or wiggle scooters, are fun, ride-on toys that can provide hours of entertainment for children. They are designed for toddlers and young kids who want to move around in a safe and engaging way. Unlike traditional ride-on toys that require pedaling or pushing, wiggle cars move through a simple side-to-side wiggling motion, making them easy to use for kids as young as two years old. This article will guide you through the process of assembling a wiggle car, ensuring that your child can start enjoying their new toy in no time.
What You'll Need
Before you begin, make sure you have the following tools and materials ready
1. Wiggle Car Kit This should include the main body of the car, wheels, steering wheel, and any additional accessories. 2. Screwdriver Usually, a Phillips-head screwdriver will suffice. 3. Instruction Manual Most kits come with a manual that describes the assembly process in detail. 4. Flat Surface A spacious flat area to work on will make the assembly easier.
Step-by-Step Assembly Instructions
1. Unpack the Kit Begin by carefully opening the wiggle car kit. Lay out all the parts on a flat surface to ensure you have everything you need. Check the instruction manual against the contents to confirm that nothing is missing.
2. Attach the Wheels The first step in assembling your wiggle car is to attach the wheels. Most wiggle cars come with four wheels that simply snap into place. Align each wheel with its corresponding axle, and apply gentle pressure until you hear a click. Ensure that the wheels are securely attached and spin freely.
how to assemble a wiggle car

3. Install the Steering Wheel Next, take the steering wheel and locate the designated slot in the front of the car’s body. Slide the steering wheel into the slot and tighten any screws provided to secure it in place. This step may vary depending on the design of the wiggle car, so follow the specific instructions in the manual for your model.
4. Secure Additional Components Some wiggle cars come with additional features like a horn, stickers, or safety guards. If your model includes these, now is the time to attach them. Follow the instructions provided for each accessory, ensuring they are firmly affixed to the main body of the car.
5. Adjust the Seat If your wiggle car has an adjustable seat to accommodate growing children, make sure to set it to a comfortable position. Typically, this will involve sliding the seat into place and securing it with screws. Ensure there are no sharp edges or protruding parts that might be uncomfortable for your child.
6. Final Checks Once all components are assembled, go through the entire car and check that every part is tightly secured. Give the wheels a spin and test the steering wheel to make sure everything operates smoothly. It’s essential to ensure all parts are assembled correctly to provide maximum safety during use.
7. Safety First Before letting your child play with the wiggle car, inspect it one last time. Ensure that there are no loose parts and that all assemblies are secure. It’s also a good idea to have your child wear a helmet and knee pads during their first ride to promote safety.
8. Enjoy! Now that your wiggle car is fully assembled and inspected, it’s time for your child to enjoy their new ride. Encourage them to wiggle their way forward and explore their surroundings. Not only is this a fun activity, but it also promotes physical activity, coordination, and balance.
Conclusion
Assembling a wiggle car is a straightforward process that lays the groundwork for endless fun and physical play. By following the steps outlined in this guide, you can ensure a safe and enjoyable experience for your child. Remember, the joy of riding on a wiggle car is not just in the thrill it brings, but also in the memories you create together as you watch them zoom around with glee.
-
Powered Ride-On ATVs for Kids | ATVs Manufacturer & SupplierNewsAug.27,2025
-
Powered Ride-On Toys for Kids - ATVs | Manufacturer & SupplierNewsAug.26,2025
-
Powered Ride-On Toys for Kids - ATVs Manufacturer | Safe & DurableNewsAug.25,2025
-
Powered Ride-On ATVs for Kids - Direct Manufacturer & FactoryNewsAug.24,2025
-
Safe Girl Baby Walkers: 3-in-1 Fun & Support for Her First StepsNewsAug.23,2025
-
Kids' Powered Ride-On ATVs: Quality Manufacturer & SupplierNewsAug.22,2025
